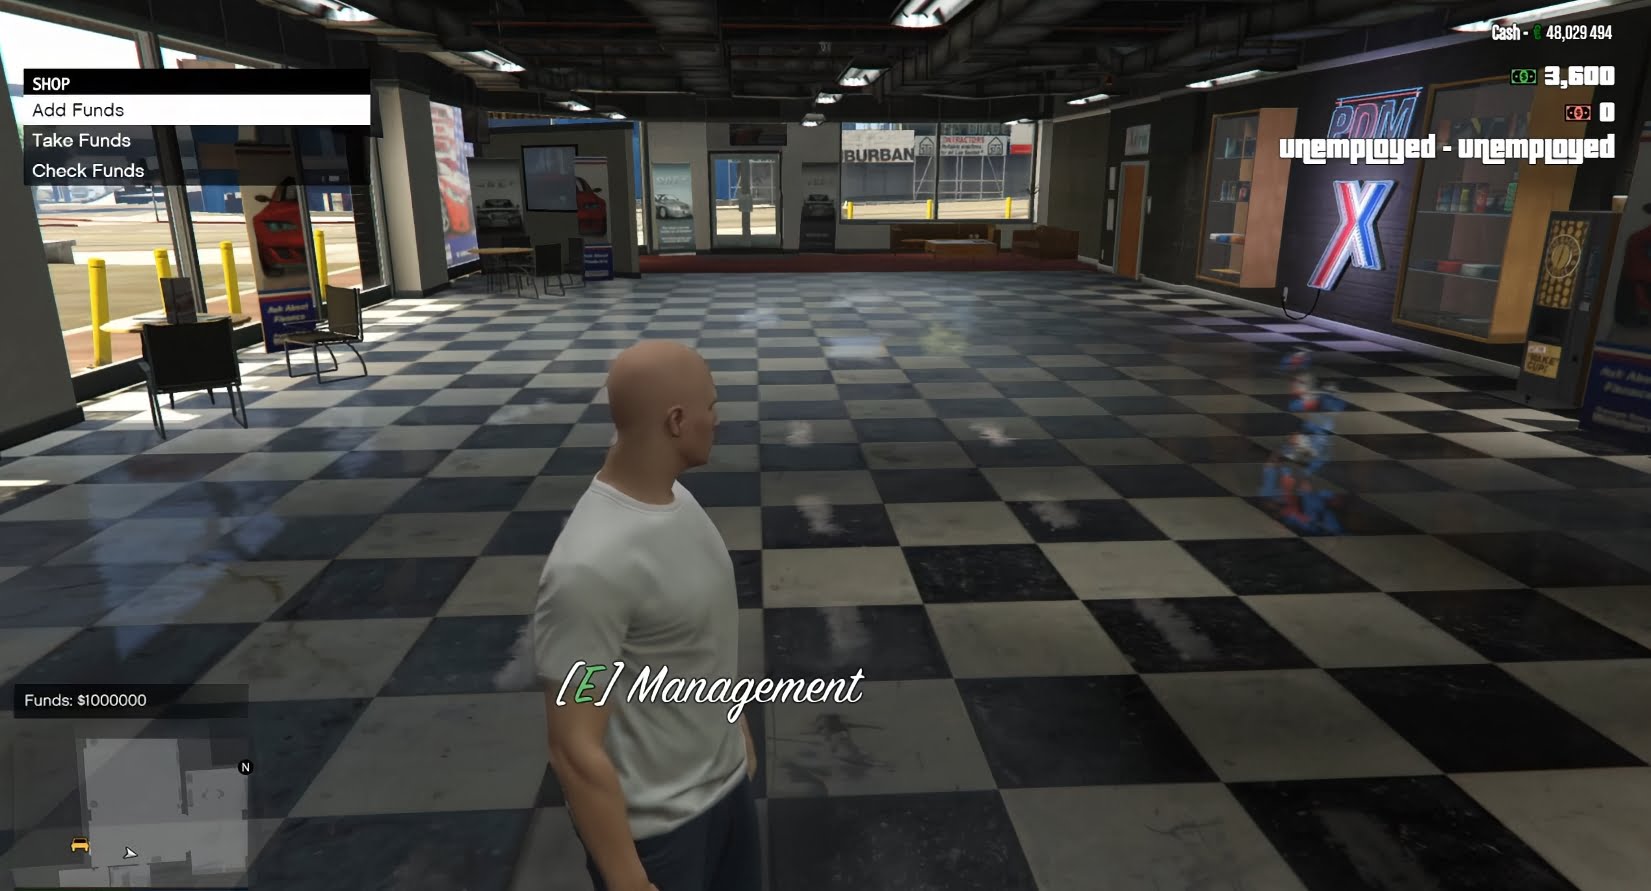
ModFreakz: Vehicle Shops
August 13, 2024
Selling FiveM Mods / Scripts – Guide
August 23, 2024FiveM allows players to utilize a variety of custom modifications in GTA V, including custom clothing. This tutorial will show you how to install clothing on your FiveM server so your players can enjoy a unique gaming experience.
video instructions
text instructions
requirements
Before you begin, make sure you have the following:
- Access to your FiveM server (FTP access or direct server access).
- The corresponding clothing mods (in .ytd or .ydd format) ready for upload (or alternatively a finished clothing package for FiveM)
- Basic knowledge of dealing with server files and structures.
Step 1: Find modified clothing files
First, you need to find the clothing mods you want to add. These mods can be downloaded from various websites, such as GTA5-Mods.com, LSPDFR.com or other FiveM specific forums. Make sure that the mods optimized for FiveM or the single player mode of GTA V.
Step 2: Download and unzip the files
After downloading the clothing mods, unzip the files. Most mod files come in a compressed format (e.g. .zip or .rar). You will need a tool like WinRAR or 7-Zip to unzip them.
Step 3: Create a resource folder
On your FiveM server you need to create a new folder for the clothing mod. Navigate to your server directory and open the resourcesfolder. Create a new folder there and name it accordingly (e.g. custom_clothes).
- Example path:
server\resources\custom_clothes
Step 4: Move files to the resources folder
Now move the unpacked mod files (.ytd, .ydd) into the newly created folder. It is important that you keep the structure and make sure that all the required files are there.
Step 5: Create the __resource.lua file
To activate the new clothing items, you must __resource.lua Create a file in the same folder. Open a text editor (like Notepad++) and paste the following code:
resource_manifest_version '77731fab-63ca-442c-a67b-abc70f28dfa5'

files {
    'stream/*.ytd',
    'stream/*.ydd'
}

data_file 'PED_OVERLAY_FILE' 'stream/*.ytd'
data_file 'PED_COMPONENTS_FILE' 'stream/*.ydd'
Save the file as __resource.lua in the custom_clothes Folder.
Step 6: Edit the server.cfg file
Open the server.cfg file of your FiveM server and add a new line at the end of the file to start the new resource:
copy plaintext codestart custom_clothes
Save the changes and close the file.
Restart your FiveM server for the changes to take effect. You can do this via your server control panel or by manually restarting.
Launch FiveM and connect to your server. Go to the in-game clothing store or use an admin menu to try out the new clothes. The new clothing items should now be available and visible to players.
Common problems and solutions
- The clothing is not displayed: Make sure that all files are correctly moved to the resources folder and in the
__resource.luaFile and in theserver.cfgfile is correctly referenced. - Server error: Check the server console for error messages. There may be missing files or conflicts with other resources.
- Game crashes: This can be due to incompatible mods or missing files. Remove the recently added mods and try again.
With these steps, you should have successfully installed custom clothing on your FiveM server. This allows your players to wear unique outfits and customize their gaming experience.

FiveM Clothing Pack
FiveM Premium Clothing Pack
After purchase you will receive a PDF with a generated download link.


